Hiking the W Trek — Everything you need to know
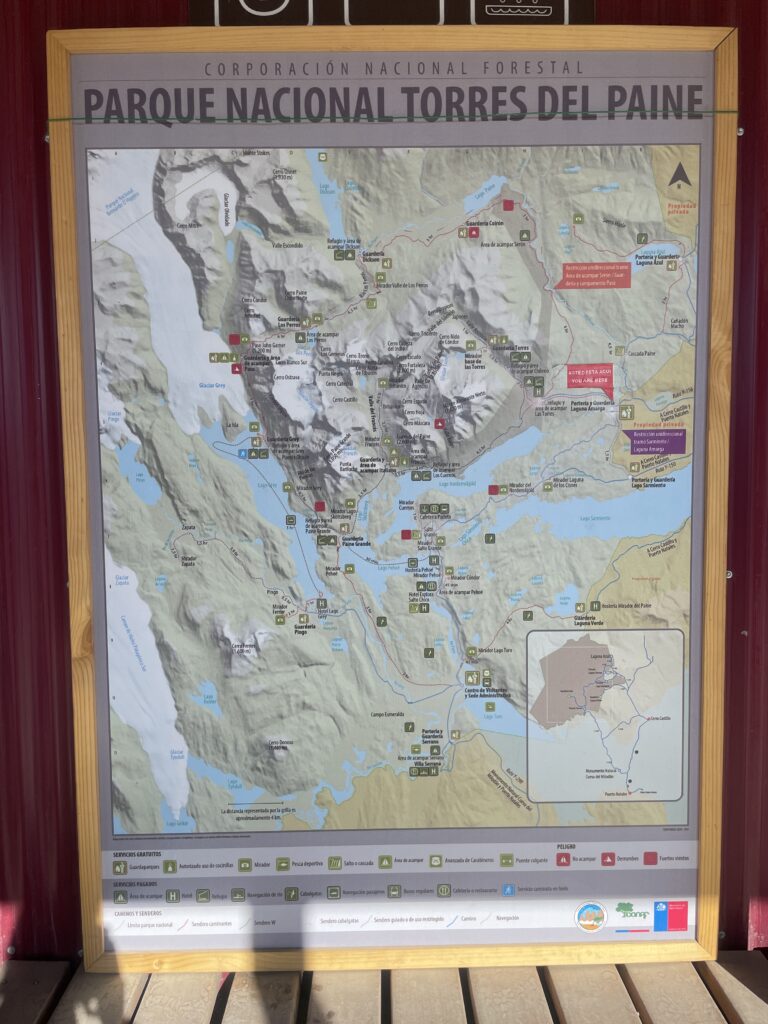
The W trek is roughly a 50 mile (80 km) multi-day hiking route located in Torres del Paine National Park, Chile.
The trek is popular because it goes past many of the highlights of the park, requires only a moderate level of fitness, and has a good infrastructure in place which allows hikers to self-guide their own trek.
Along the W trek you will find yourself stunned by the natural beauty found at the viewpoints such as Las Torres, Lago Nordenskojld, Cuernos del Paine, Británico, and Grey Glacier.
When can you hike the W trek?
The park is open year-round, however, for self-guided trekking, you can only hike between October and the end of April.
If you want to hike during the winter months (May through September), you’ll need to arrange a guide.
The W trek in Torres del Paine National Park is a moderately challenging hike. If you’re able to walk up to 18 kilometers (11 miles) per day (and feel like you would be able to do that over multiple days), then you will find this hike perfectly doable.
Links you’ll need:
First, decide on how long you want to take to see/complete the W trek. It can be hiked in 5 days / 4 nights, or 4 days / 3 nights (one day of longer hiking), or you can see all of it in ~4 days without camping (you will have to take transportation within the park).
Booking where you will stay
- Torres Del Paine has both paid and free campsites.
- Free Campsites: CONAF is a non-profit that offers free camping. These sites have no frills (bathrooms, water spouts, minimarkets, etc…) but its a place to stay! Make sure to book ahead of time with them with their online booking.
- The paid sites are known as refugios. They offer general campsite facitilities such as mini markets, kitchens, hot food, and bathrooms. At these refugios you have the option to reserve a place to pitch your own tent, rent a tent+sleep system, or stay in their lodge. Keep in mind that some of these refugios close down after peak season ends. Book your stays through one of the two companies which own and operate these refugios:
Buying tickets into Torres Del Paine:
- You need to pay an entrance fee to get into Torres del Paine. Make sure you have your tickets available to show when you enter the park on the bus and it is recommended that you carry this ticket (whether a physical copy or a screenshot on your phone) to have available the entire time you are in the park.
- You can buy your tickets in advance online here
- We bought ours online and we found that in order to do so, we had to enter in our itinerary (i.e., how many days we planned to be in the park and where we planned to spend each night). I will add that other than our entrance ticket begin checked when we entered the park, our itinerary was never confirmed by anyone.
- You can also buy your entrance ticket with credit or debit card at the bus station in Puerto Natales (Avda. España 1455, 1st Floor)
- Lastly, your tickets can also be purchased in the Park but only in cash (they cannot process card payments).
- You can buy your tickets in advance online here
Getting to and from Torres Del Paine from Puerto Natales
- Book your bus (it will take ~2 hours) on Budbud. I recommend booking with Bur Sur as they are reliable and you can exchange your tickets with other days/times if necessary.
Hiking the W Trek
The W Trek has something for everyone, whether you enjoy camping, or you want to stay in a nice hotel with heating, a comfy bed, and gorgeous views. There are two main hotels along the W Trek located at Central and Paine Grande. The majority of this post covers how to they-hike the W Trek, but if you are interested in seeing all highlights of the W Trek while staying in these hotels and only taking day hikes, click here to skip down to my instructions on how to do that.
I suggest hiking it East to West but if you want to, you can always reverse the order of my suggestions. Since it is more popular to hike West to East, by going in reverse you will encounter less crowds, knock off the hardest (and most iconic) hike first, and then your hikes will just get easier from there.
How to hike the W Trek in 5 days/4 nights
(alternative 4 day plan)
Day 1: Puerto Natales to Torres Del Paine
Where you stay Night 1: Central
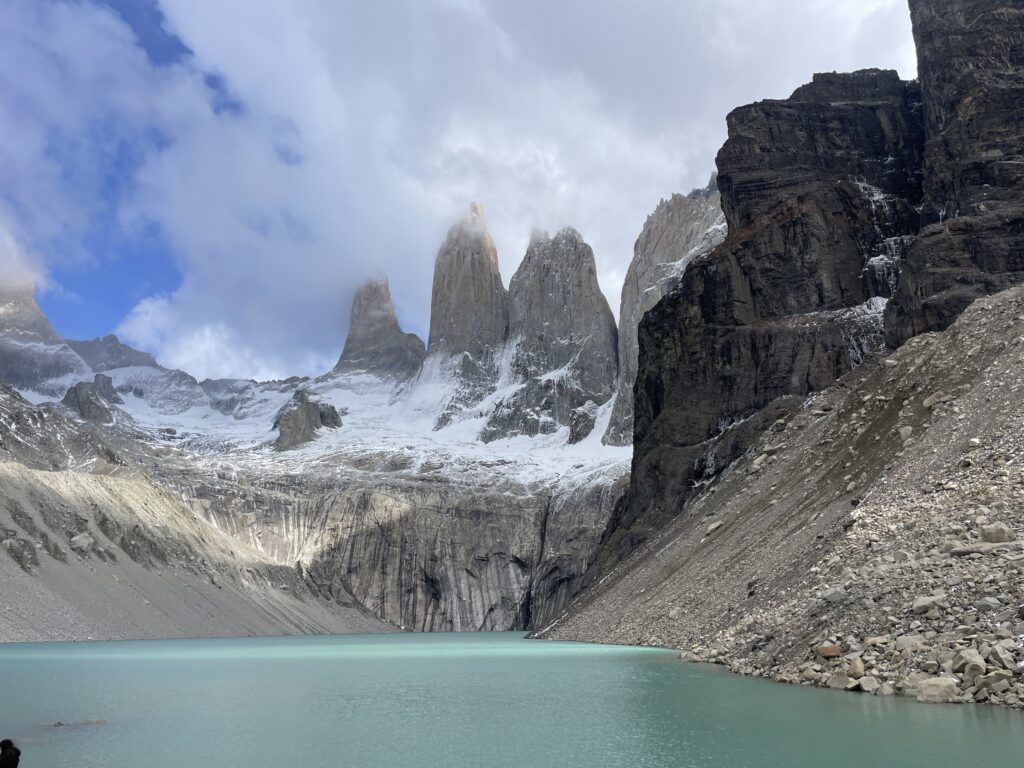
Hike: Round trip to The Towers
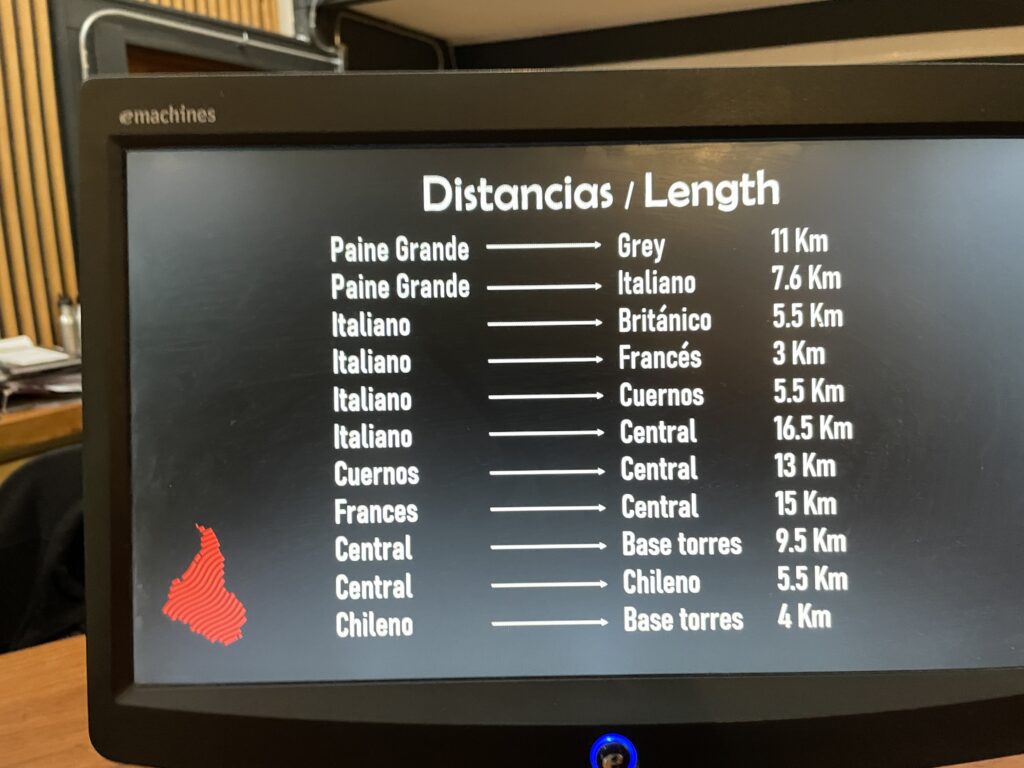
Length: 12.5 mi (20.12 km)
Time: 8.5 hrs
Total Ascent & Descent: 3,251 ft (990 m)
Difficulty: Hardest hike of the trek, but 100% worth pushing through
- Take the bus from Puerto Natales into Torres Del Paine
- The bus is ~2 hrs. Make sure you have your park tickets on hand.
- You will be dropped off at the Ranger Station, Laguna Amarga
- From here you can catch a shuttle ($3,000 Chilean pesos) to the Welcome Center right outside Central
- Leave your main bags at Central and bring a day pack for the rest of the day
- Follow the signs to hike up to The Towers
- You’ll pass Refugio Chileno on the way where you can stop for lunch (they sell food and drink)
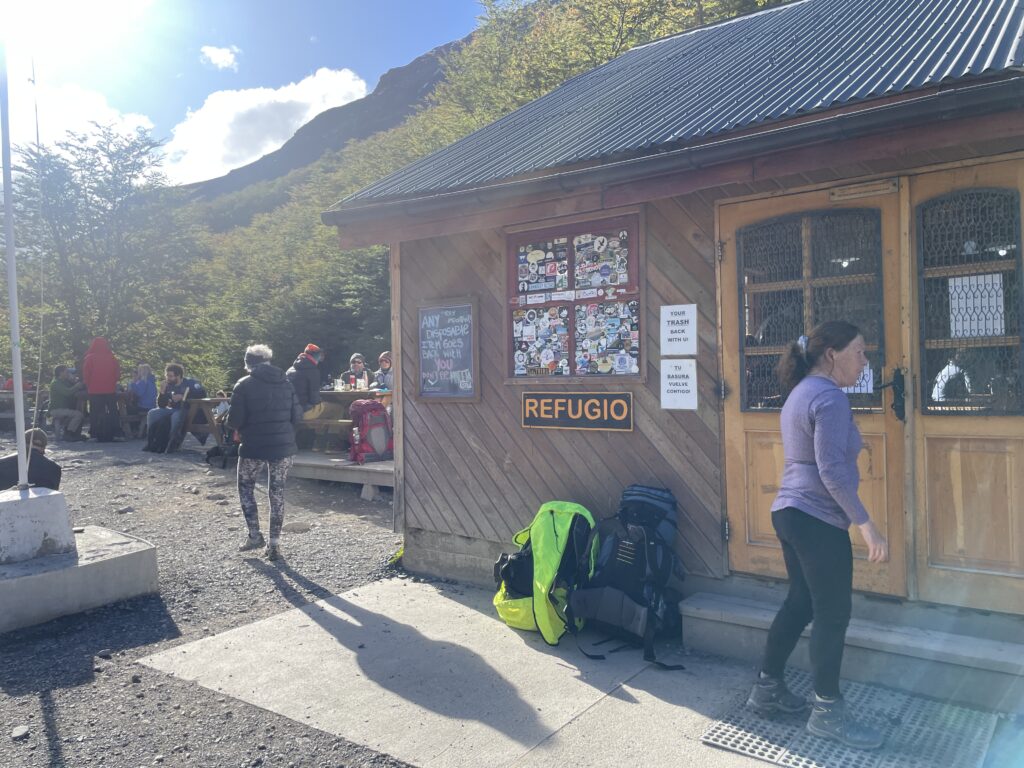
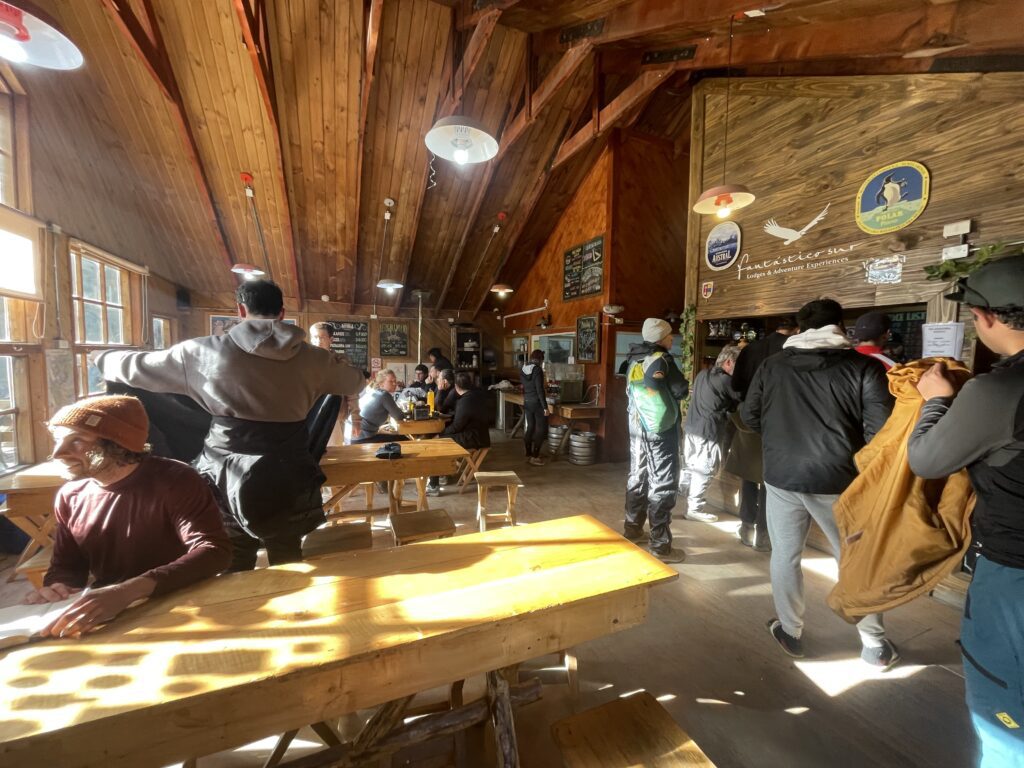
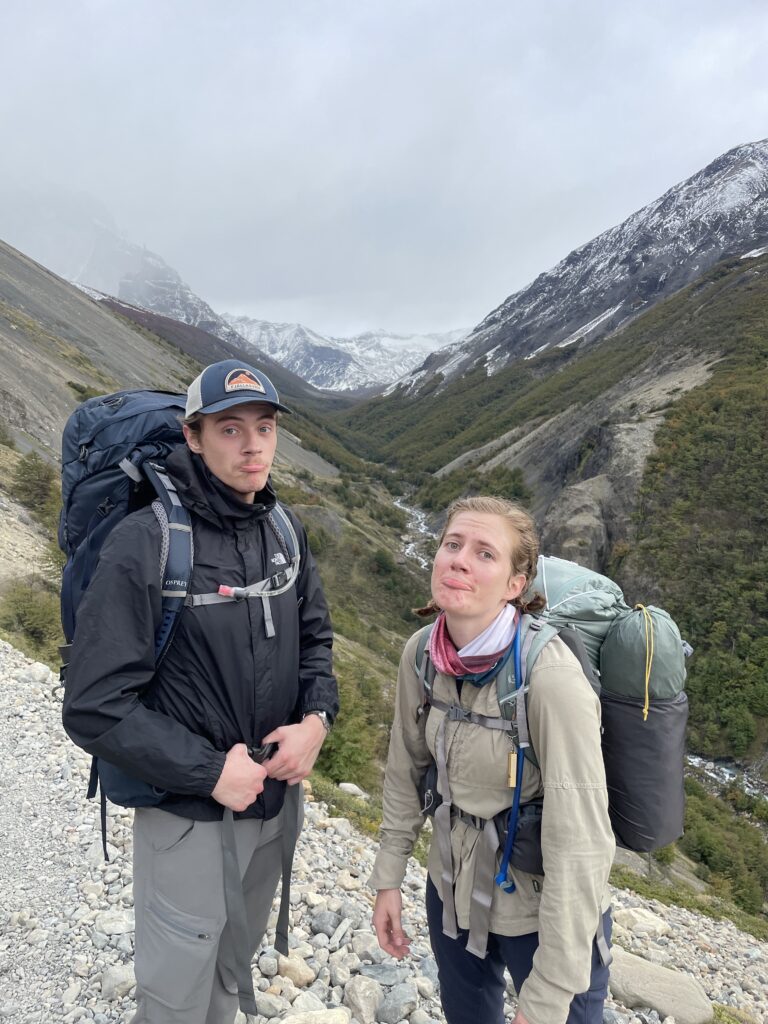
*if you want to stay at Chileno you will have to hike with all your stuff up to the Refugio. We did this and regretted lugging our heavy bags up half the mountain
- At Refugio Chileno you can then either stay inside in the dorms or on raised platforms for tents
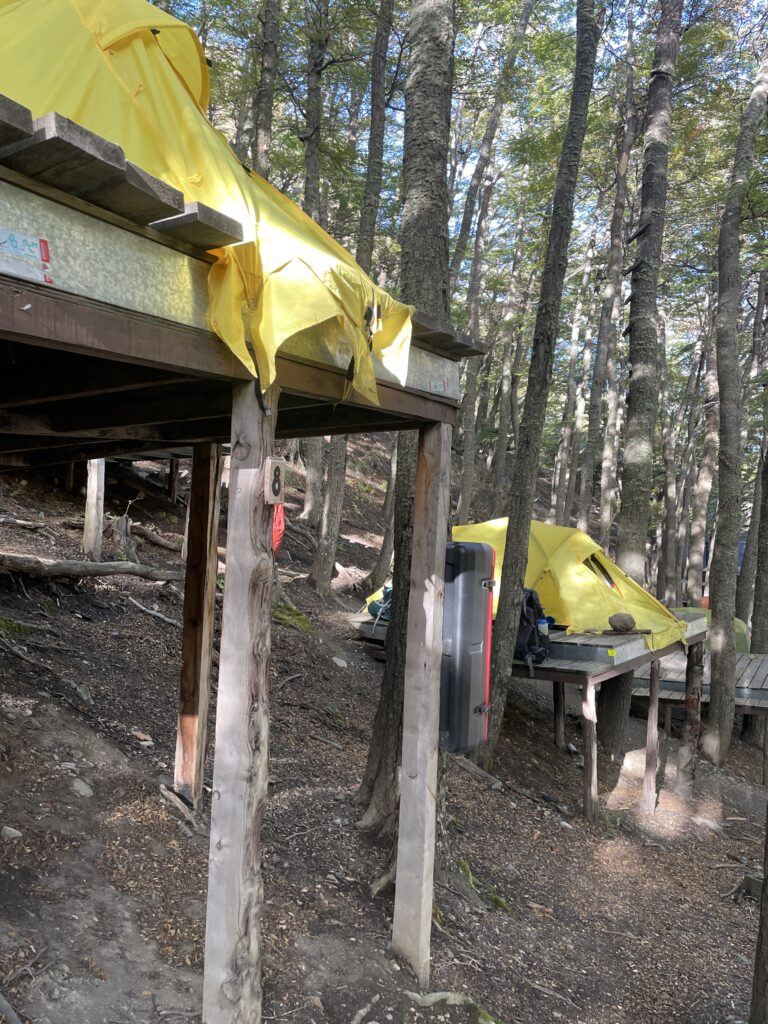
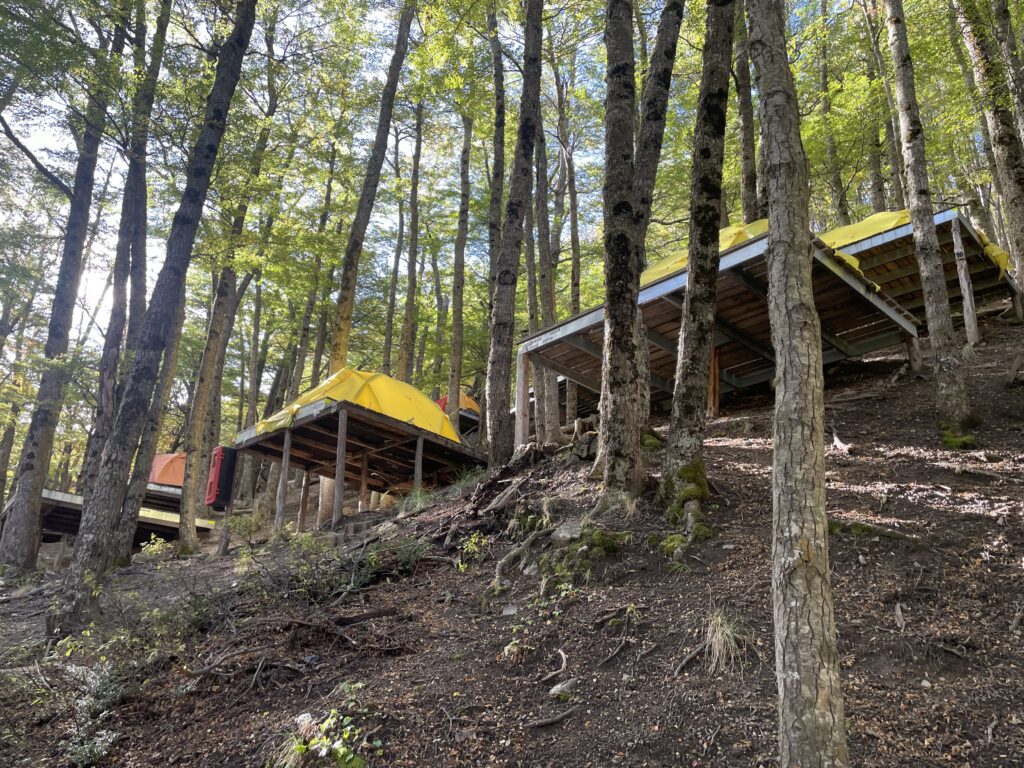
- From Refugio Chileno it takes ~1.5 hours to get up to Mirador Torres
- Budget 30min-1hr up at Las Torres for Photos (or to wait out bad weather)
- Stay the night at Central
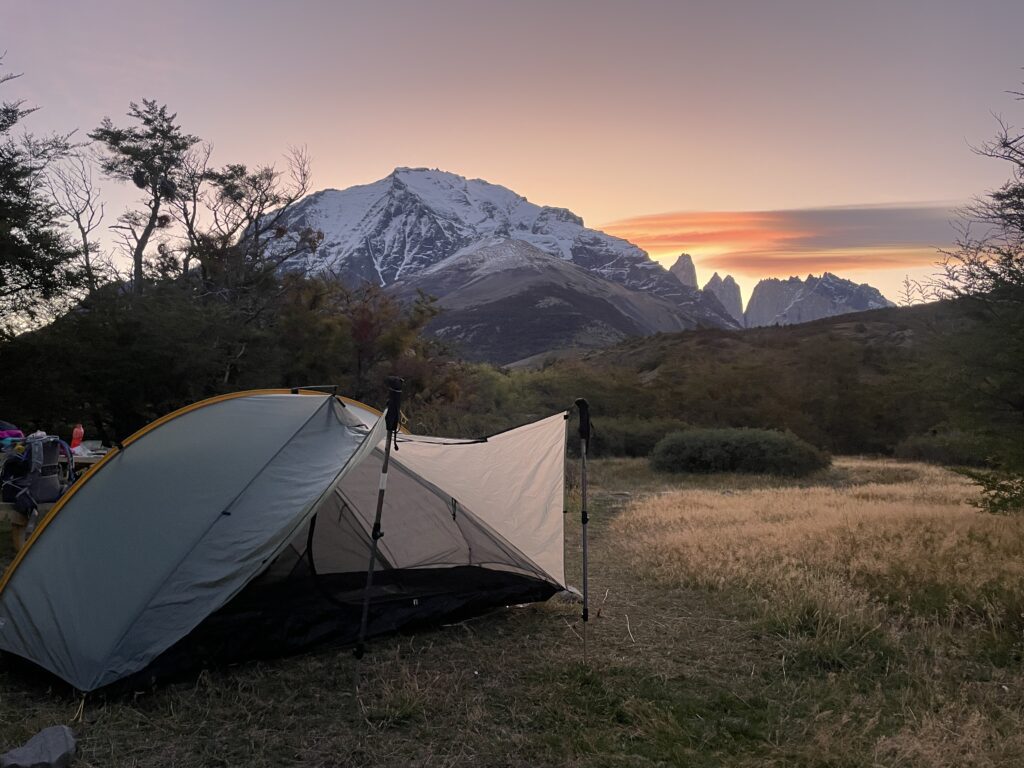
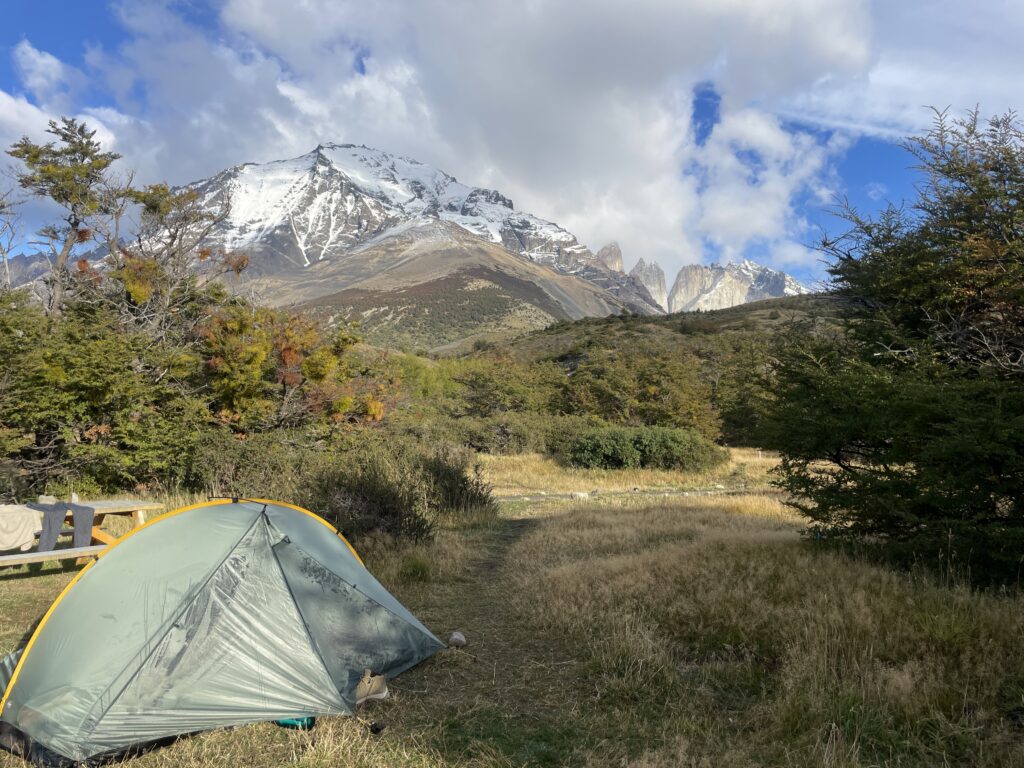
*Central was my favorite camping spot because we were actually separated from other tents and had a little bit of privacy. You will not get this at any of the other camping refugios
Day 2: Central to Frances
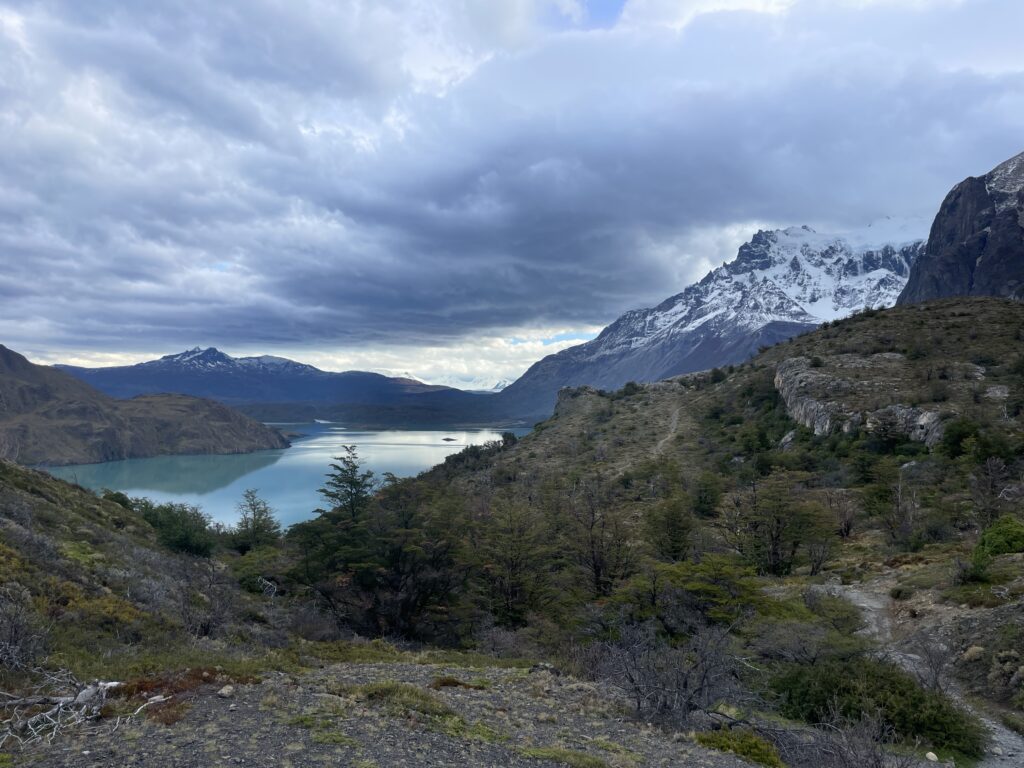
Where you’ll stay Night 2: Refugio Frances
Length: 10.7 mi (17.22 km)
Time: 5.5 hours
Total Ascent: 1,688 ft (514 m)
Total Descent: 1,635 ft (498 m)
Net Elevation Change: 53 ft (16 m)
Difficulty: Easy
- This day you’ll see gorgeous views as you hike along Lago (Lake) Nordernskjöld, past the mountains of Monte Alimirante Nieto and Cuernos Del Paine
- You do have the option of staying at Refugio Cuernos rather than Frances.
- Cuernos is a really nice Refugio and you may be tempted because it is ~1.5 hours closer than Frances, however, the next Day is a long day, and hiking the extra distance to Frances sets you up to arrive at Mirador Británico before the crowds
Day 3: Frances to Paine Grande

Where you’ll stay Night 3: Paine Grande
Hike/Mirador: Frances and Británico
Length: 12 mi (19.31 km)
Time: 8 hrs
Total Ascent: 2,346 ft (715 m)
Total Descent: 2,713 ft (827 m)
Net Elevation Change: -367 ft (-112 m)
Difficulty: Medium
- If you’re up for it, I recommend you wake up early this day in order to get to Británico before the majority of people. On this day, when we hiked the W Trek, we started hiking at 7 AM.
- Hike from Frances to Italiano (~1 hour) and leave your mainbags here (recommend you pack a day pack for your hike up to Británico).
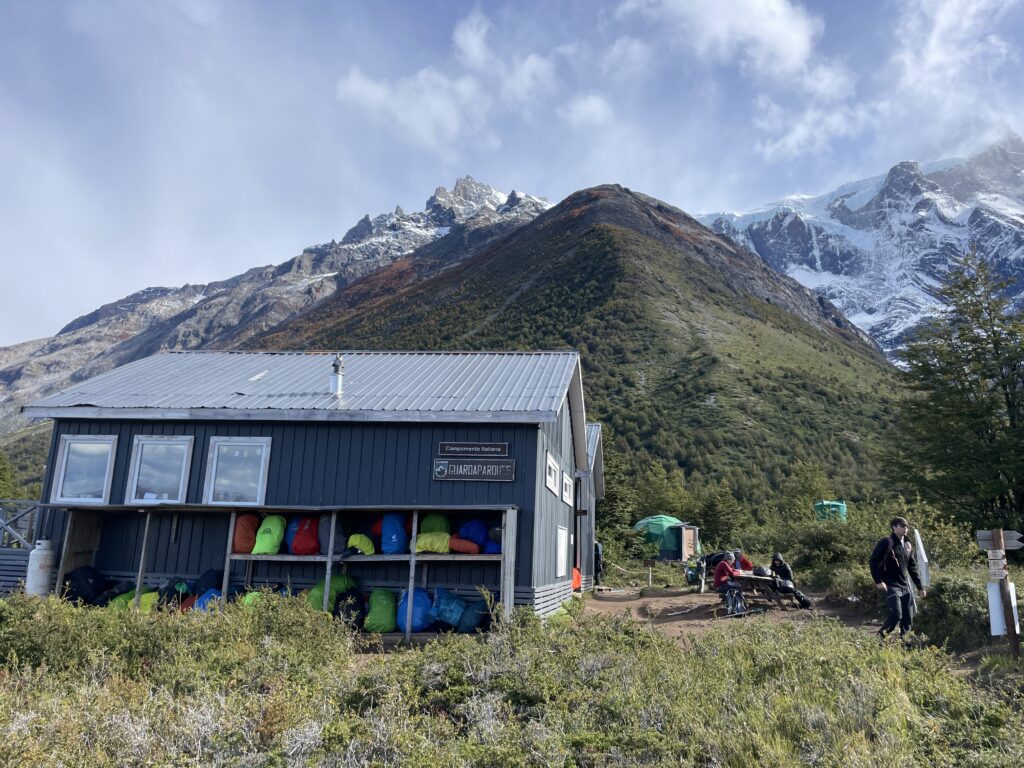
- There are 2 main viewpoints along this hike: Mirador Frances and Británico.
- Frances is on the way to Británico and you will reach it in ~1hr from when you start.

Mirador Frances
- It is roughly a 1 hour hike past Mirador Frances to reach Mirador Británico.
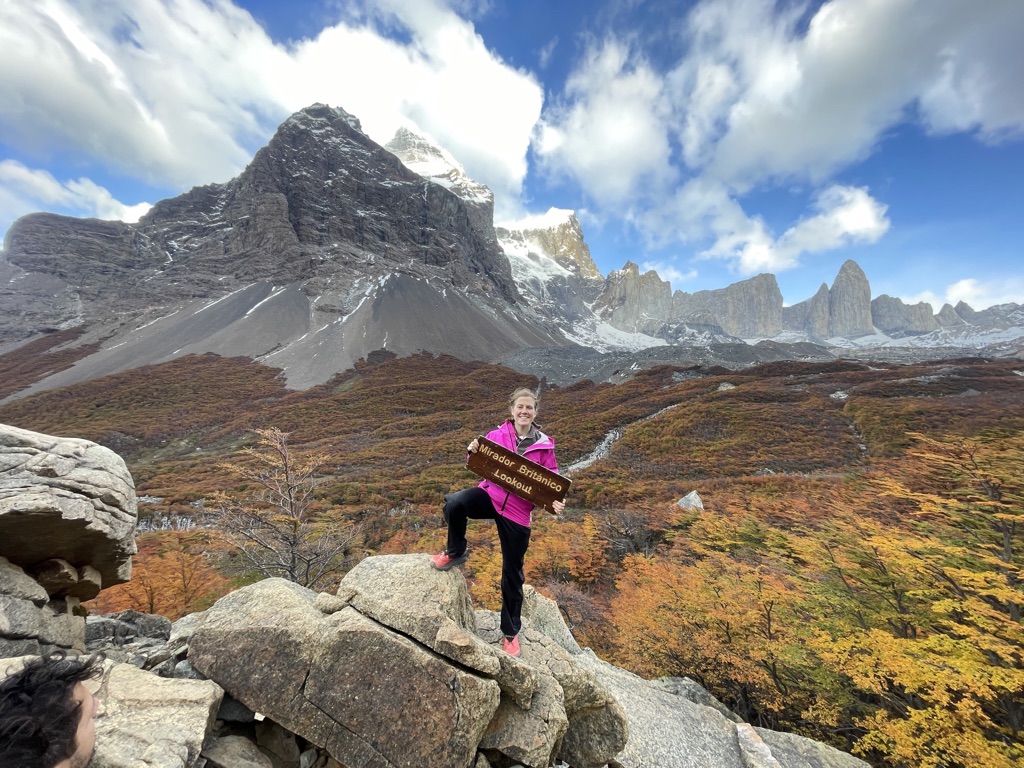
Mirador Británico
*note: Británico is GORGEOUS, but it was recommended to us that if the weather is terrible then it’s not worth it to hike all the way to Británico and you can just hike to Mirador Frances and turn around
- After returning from Británico, grab your bags from Italiano and make your way to Paine Grande. The hike from Italiano to Paine Grande is an easy 2 hour, relatively flat, hike
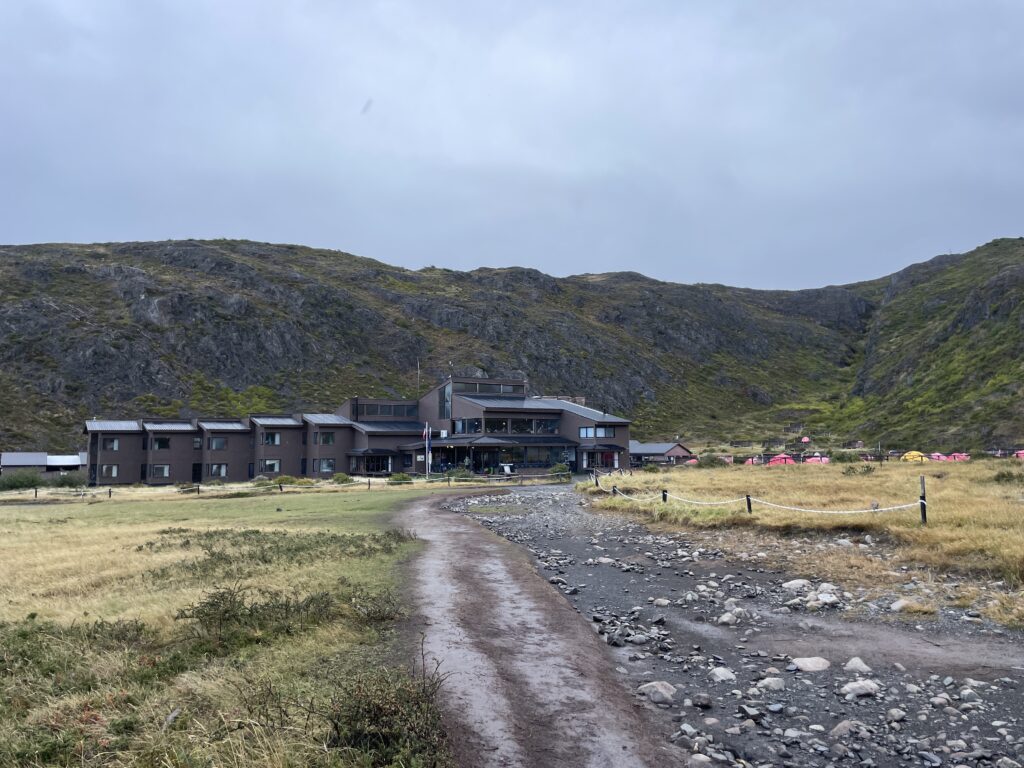
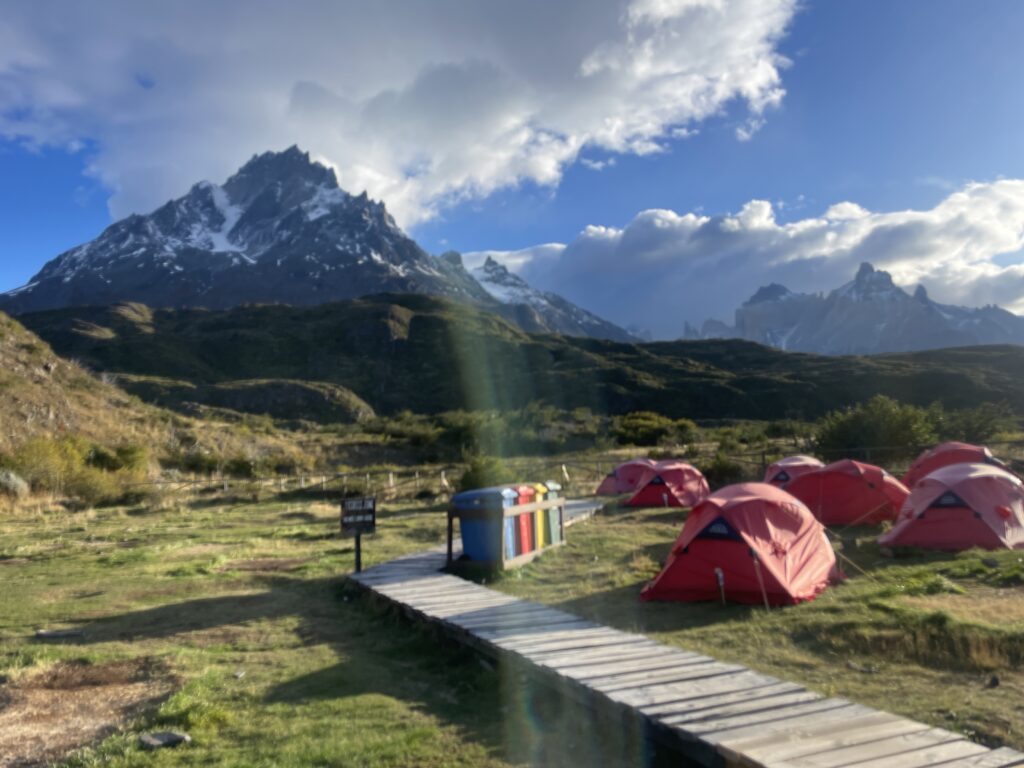
- At Paine Grande you’ll find a lodge where you can stay, a restaurant that offers buffet meals, and a bar with food and drink
- Tents are set up right outside the Lodge
Day 4: Paine Grande to Grey
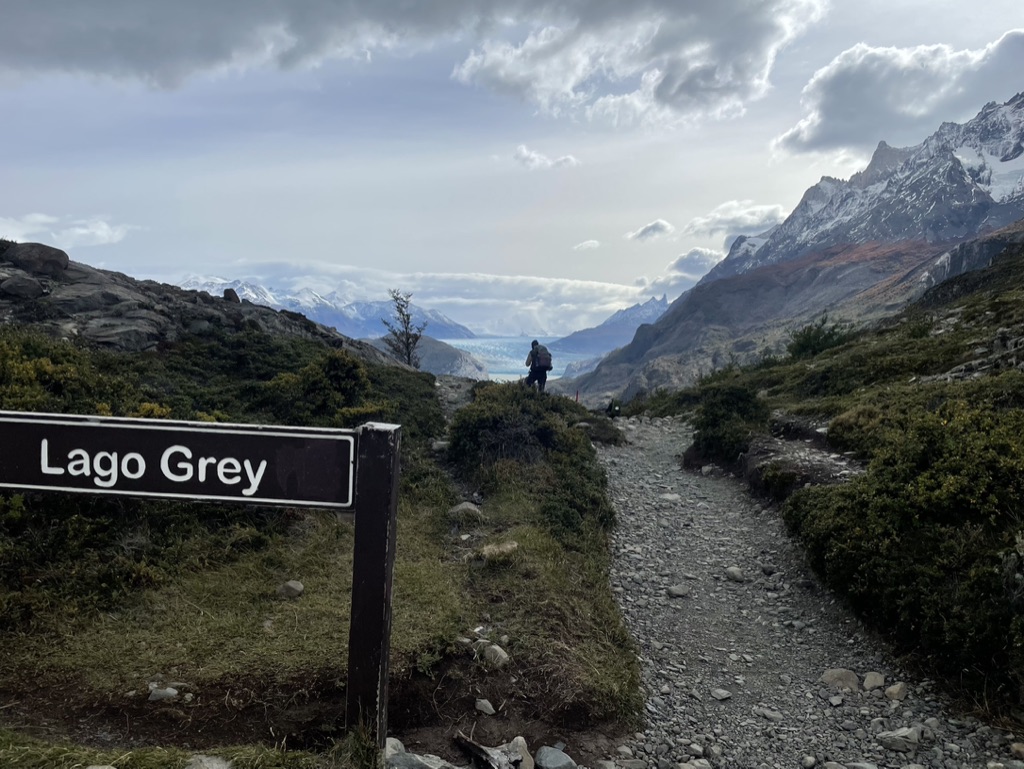
Where you’ll stay Night 4: Grey
Hike/Mirador: Grey Glacier
Length: 6.7 mi (10.78 km)
Time: 4 hours (signs say 3.5 but for us it took 4)
Total Ascent: 1,289 ft (393 m)
Total Descent: 1,177 ft (359 m)
Net Elevation Change: 112 ft (34 m)
- Heads up, this hike is often very windy but it is relatively easy compared to days you have had prior.
- You will arrive to Refugio Grey first. Drop off your bags and hike 10 extra minutes to see Grey Glacier.
- Spend the night at the Grey Refugio
Day 5: Refugio Grey to Puerto Natales
Length: 6.7 mi (10.78 km)
Time: 3.5 hours (it took us less time to return to Paine Grande)
Total Ascent: 1,177 ft (359 m)
Total Descent: 1,289 ft (393 m)
Net Elevation Change: -112 ft (34 m)
- Todays main priority is getting yourself out of the park and back to Puerto Natales.
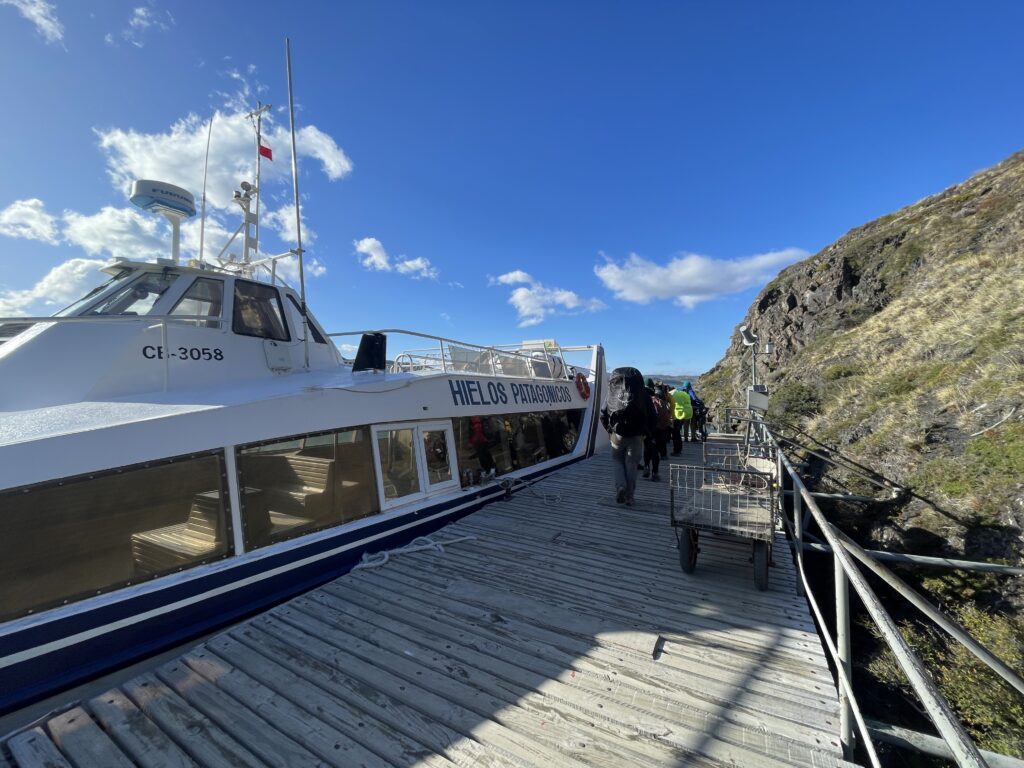
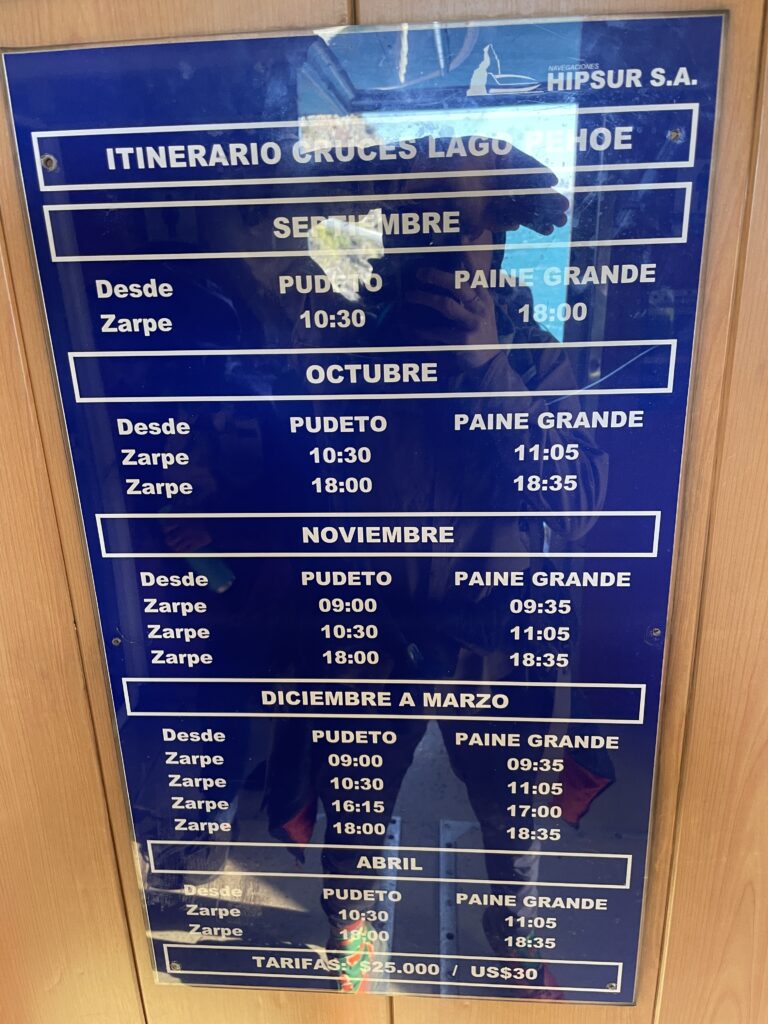
- You will hike back the way you came the day prior, retracing your steps from Grey to Paine Grande. At Paine grande you will catch a boat to the Pudeto where you will catch a bus that takes you our of the park to Puerto Natales.
- The amount of boats between Paine Grande and Pudeto change based on the month (popularity with tourists). Here’s a photo I took although there is a glare. Make sure you time your bus with your catamaran. Also recommend double checking with the front desk at Paine Grande to ensure the boat is coming at the time you expect. You have to buy the catamaran boat tickets at the boat itself. Tickets are 25,000 Chilean pesos each and must be in cash. During high season (Summer which is Dec-March) they will take USD.
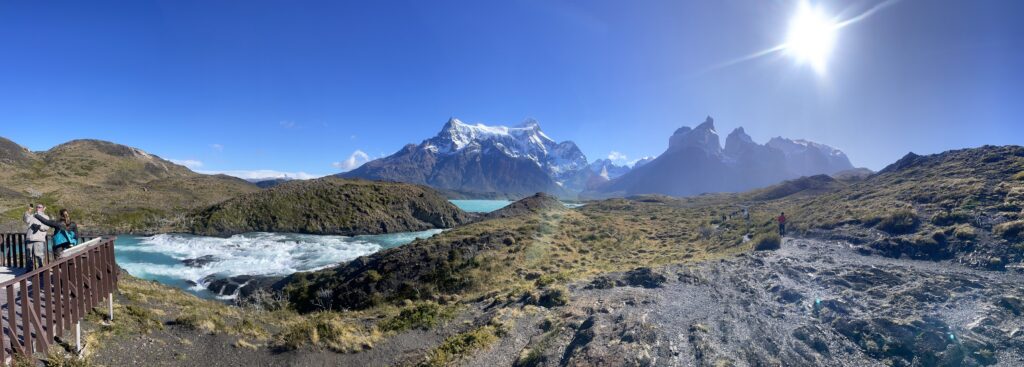
*Optional hike while you wait for the bus: Salto Grande Waterfall and Mirador Cuernos where you can view the W trek.
Salto Grande Waterfall and W Trek Viewpoint
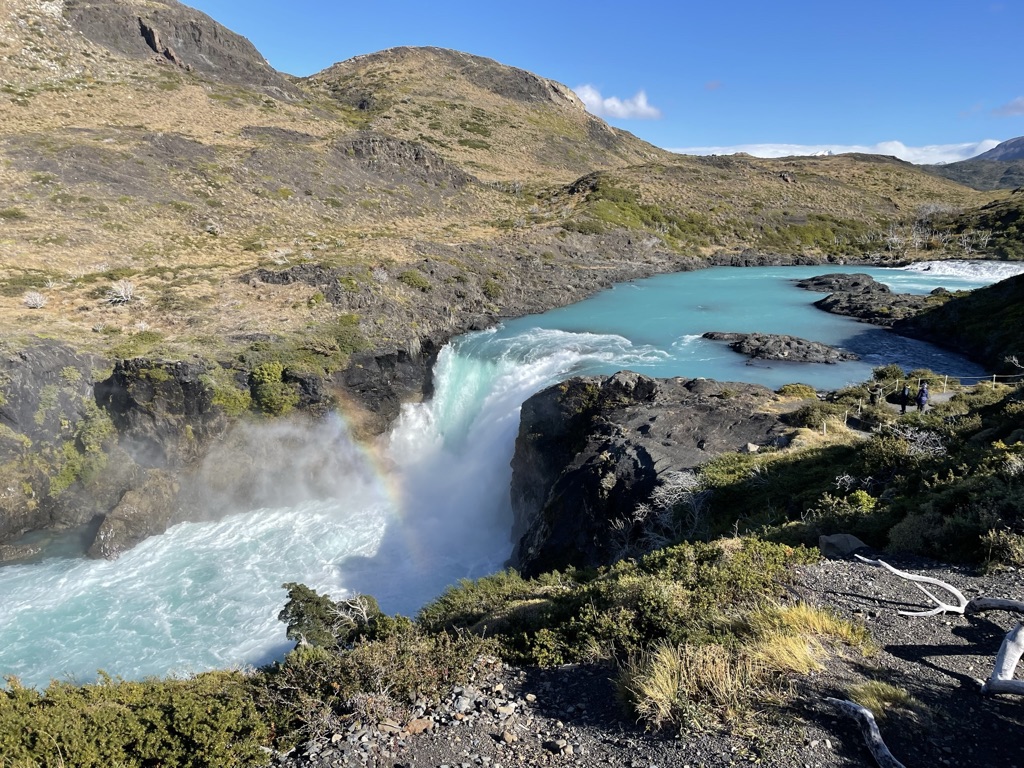
- The views you’ll see along this short hike
- Give yourself 1.5hrs to do this
- ⚠️ Warning: this hike has some of the highest winds in the whole park
Alternative 4 day, 3 night plan:
- On day 4 hike round trip from Paine Grande to Grey and back in time to catch the boat. Make sure to book your bus to Puerto Natales ahead of time to ensure that you will have a smooth transition out of the park.
How to see all highlights of the W trek w/ only day hikes
- Day 1:
- Day hike to Las Torres
- Spend the night in Central
- Day 2
- Shuttle to Laguna Amarga, then to Cafeteria Pudeto where you can catch the catamaran to Paine Grande
- Book Paine Grande for the rest of your time in the park.
- Day 3
- Hike out to Británico and back
- This will be a long, all day hike. Pack food
- Stay the night at Painé Grande
- Hike out to Británico and back
- Day 4
- Hike to Glacier Grey and back.
- This will be a long, all day hike. Pack food
- If you’re determined, you can do this hike in time to come back and catch the late afternoon catamaran (link to bottom of post with image of catamaran times) to then make your way out of the park this night, but it will be a long day. Alternatively, spend night 4 at Paine Grande, catch the catamaran the following morning and then hike to Salto Grande before catching the bus out of the park to Puerto Natales.
- Hike to Glacier Grey and back.
General tips
- Fly into Puerto Natales. If you cannot get a flight from where you are coming from, another option is to fly to El Calafate and take a bus to puerto Natales, but this way is much longer and roundabout so I don’t recommend it
- Maps for your trek
- Free: Download Maps.me, and offline download South Chile so you can track where you are even while in the park.
- Paid: Download Far Out and purchase the O Trek (you must buy the O Trek in order to get the W trek). While this is paid, it can give you valuable insight as to the distance you’ll hike, accessible water on the trail, and the elevation gain along trail.
- Tap water in the park is potable
- Bring trekking poles
- Have a Rain Jacket, Rain Pants, and a rain cover for your backpack
- Bring good shoes, at least one extra pair of socks, and moleskin/bandaids in case you get a blister
- At least one extra throw away bag because you need to carry your trash out
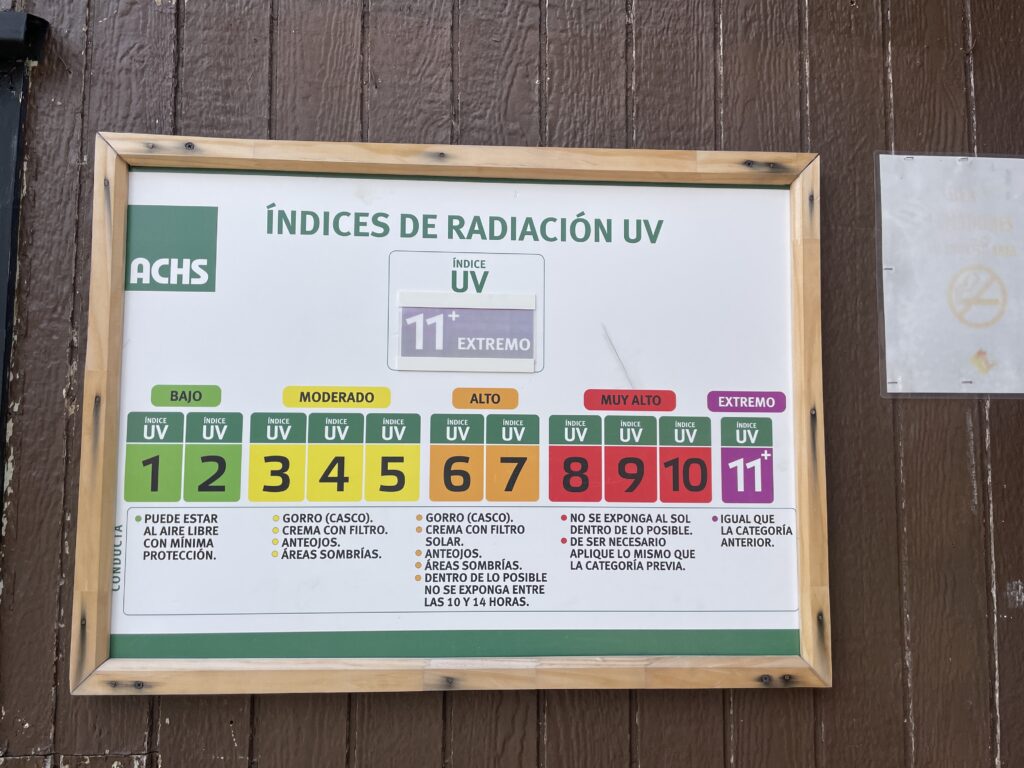
- UV rays here are SUPER extreme. Bring sunscreen or cover up. Better yet, do both! Skin cancer is not your friend!
- Recommend booking your bus tickets ahead of time, if you don’t and you are traveling during high season you likely we’ll have trouble getting one when you want it. Bus Sur is the main bus you’ll use.
- *Bus Sur allows you to exchange bus times & day with ease.

One Comment
Beth
These pictures are gorgeous…. I love how you help others prepare for a trip like yours and help them know what to expect. Well done!!!!